
Homemade Nutella
This homemade Nutella-style spread is rich with toasted hazelnuts, cocoa, and melted milk chocolate. It is smooth enough for toast, fruit, crepes, or spooning over ice cream.
- Total time
- 32 min
- Yield
- About 2 cups, 16 servings (2 tablespoons
- Difficulty
- Easy
Prep 20mCook 12mItalian-inspiredChocolate
Homemade Nutella is a chocolate-hazelnut spread made with real toasted hazelnuts, cocoa powder, sugar, and a little melted chocolate. It has a deeper nut flavor than the store-bought jar and a slightly more natural texture.
The key step is processing the hazelnuts long enough. First they turn sandy, then clumpy, then glossy as their oils release. A food processor works well, but give the motor short breaks if it feels hot.
Use it on toast, pancakes, waffles, sliced bananas, or as a filling for thumbprint cookies. It also makes a simple dessert when spread on warm bread with a pinch of flaky salt.
01What you'll need
Ingredients
7 items · About 2 cups, 16 servings (2 tablespoons
- 2 cups raw hazelnuts, about 280 g
- 1 cup powdered sugar, about 120 g, sifted if lumpy
- 1/3 cup unsweetened cocoa powder, about 28 g
- 1/2 cup milk chocolate chips or chopped milk chocolate, about 85 g
- 2 tablespoons neutral oil, such as canola, sunflower, or grapeseed oil
- 1 teaspoon vanilla extract
- 1/2 teaspoon fine sea salt
02How to make it
Step-by-step
1. Toast the hazelnuts
Heat the oven to 350°F. Spread the hazelnuts on a rimmed baking sheet in one layer. Toast for 10 to 12 minutes, shaking the pan once, until the nuts smell fragrant and the skins look cracked.
2. Rub off the skins
Pour the warm hazelnuts into a clean kitchen towel. Fold the towel over them and rub firmly to loosen the papery skins. It is fine if some skins stay on; removing most of them keeps the spread from tasting bitter.
3. Melt the chocolate
Place the milk chocolate in a microwave-safe bowl. Microwave in 20-second bursts, stirring after each burst, until just melted. Set it aside so it stays fluid but not hot.
4. Grind the hazelnuts
Add the warm peeled hazelnuts to a food processor. Process for 3 to 5 minutes, stopping to scrape down the bowl. The nuts will move from crumbs to a thick paste, then to a shiny nut butter. If the machine gets hot, pause for a minute.
5. Add the dry ingredients
Add the powdered sugar, cocoa powder, and salt. Process until the mixture looks evenly dark and no dry streaks remain. Scrape the sides and bottom of the bowl so everything blends evenly.
6. Blend in the chocolate
Pour in the melted chocolate and vanilla. Process until smooth. The spread will look thicker at first, then loosen as it mixes.
7. Adjust the texture
With the processor running, drizzle in the neutral oil. Process for 1 to 2 minutes more, until glossy and spreadable. For a looser spread, add 1 extra teaspoon of oil at a time.
8. Jar and cool
Transfer the spread to a clean jar. Let it cool to room temperature before covering. It will thicken slightly as it sits, especially if stored in the refrigerator.
03From our kitchen
Cook's tips
- Make-ahead: This spread is a good make-ahead recipe. The flavor settles after a few hours, and the texture becomes more scoopable once fully cooled.
- Storage: Store in a clean airtight jar in the refrigerator for up to 3 weeks. Let it sit at room temperature for 15 to 20 minutes before spreading if it becomes firm.
- For a smoother spread: A high-power blender can make it silkier, but only use one if it is designed for nut butters. Stop often and scrape down the sides.
- Sweetness swap: Powdered sugar gives the smoothest texture. Avoid honey or maple syrup here; liquid sweeteners can make chocolate and nut butter seize, which means turn thick and grainy.
- Chocolate swap: Use semisweet chocolate if you want a less sweet, darker flavor. The spread will be a little firmer and more cocoa-forward.
- Dairy-free option: Use dairy-free chocolate chips to make the recipe dairy-free. Check the label if you need the spread to be fully vegan.
Cook's note
Homemade chocolate-hazelnut spread will not be quite as silky as commercial Nutella because it does not use industrial grinders. For the smoothest home version, process the hazelnuts until they are truly glossy before adding the cocoa and sugar.
04Frequently asked
Questions & answers
Why is my homemade Nutella grainy?
It usually needs more processing time. Hazelnuts go through a crumbly stage before they become smooth. Keep blending, scrape the bowl often, and pause if the motor gets warm. Powdered sugar also helps keep the texture smoother than granulated sugar.
Do I have to remove all the hazelnut skins?
No. Remove as much as you can, but a few skins are fine. The skins add a slightly bitter flavor, so rubbing off most of them makes the spread taste cleaner.
Can I make this without oil?
Yes, but the spread will be thicker and less glossy. The oil helps it loosen into a spreadable texture. If skipping it, expect more of a dense chocolate-hazelnut butter.
Can I use a blender instead of a food processor?
Only if your blender can handle nut butters. Many standard blenders need more liquid to run well and can overheat. A food processor is safer and more reliable for this recipe.
Why did my spread get firm in the fridge?
The chocolate and hazelnut fat firm up when cold. Let the jar sit at room temperature for 15 to 20 minutes, then stir. If needed, mix in a few drops of neutral oil to loosen it.
05Per serving
Nutrition facts
Nutrition Facts
About 2 cups, 16 servings (2 tablespoons
Amount per serving
% Daily Value*
- Total Fat14 g
- 18%
- Saturated Fat2 g
- 10%
- Cholesterol1 mg
- 0%
- Sodium77 mg
- 3%
- Total Carbohydrate15 g
- 5%
- Dietary Fiber3 g
- 11%
- Total Sugars11 g
- Protein3 g
- 6%
- Vitamin D0 mcg
- 0%
- Calcium32 mg
- 2%
- Iron1.2 mg
- 7%
- Potassium166 mg
- 4%
* Percent Daily Values are based on a 2,000-calorie diet.
05Keep cooking
You might also like
 Chocolate
Chocolate Mug Cake
This single-serve chocolate mug cake is soft, warm, and ready in minutes. It is made with pantry staples and cooks right in the microwave.
 Chocolate
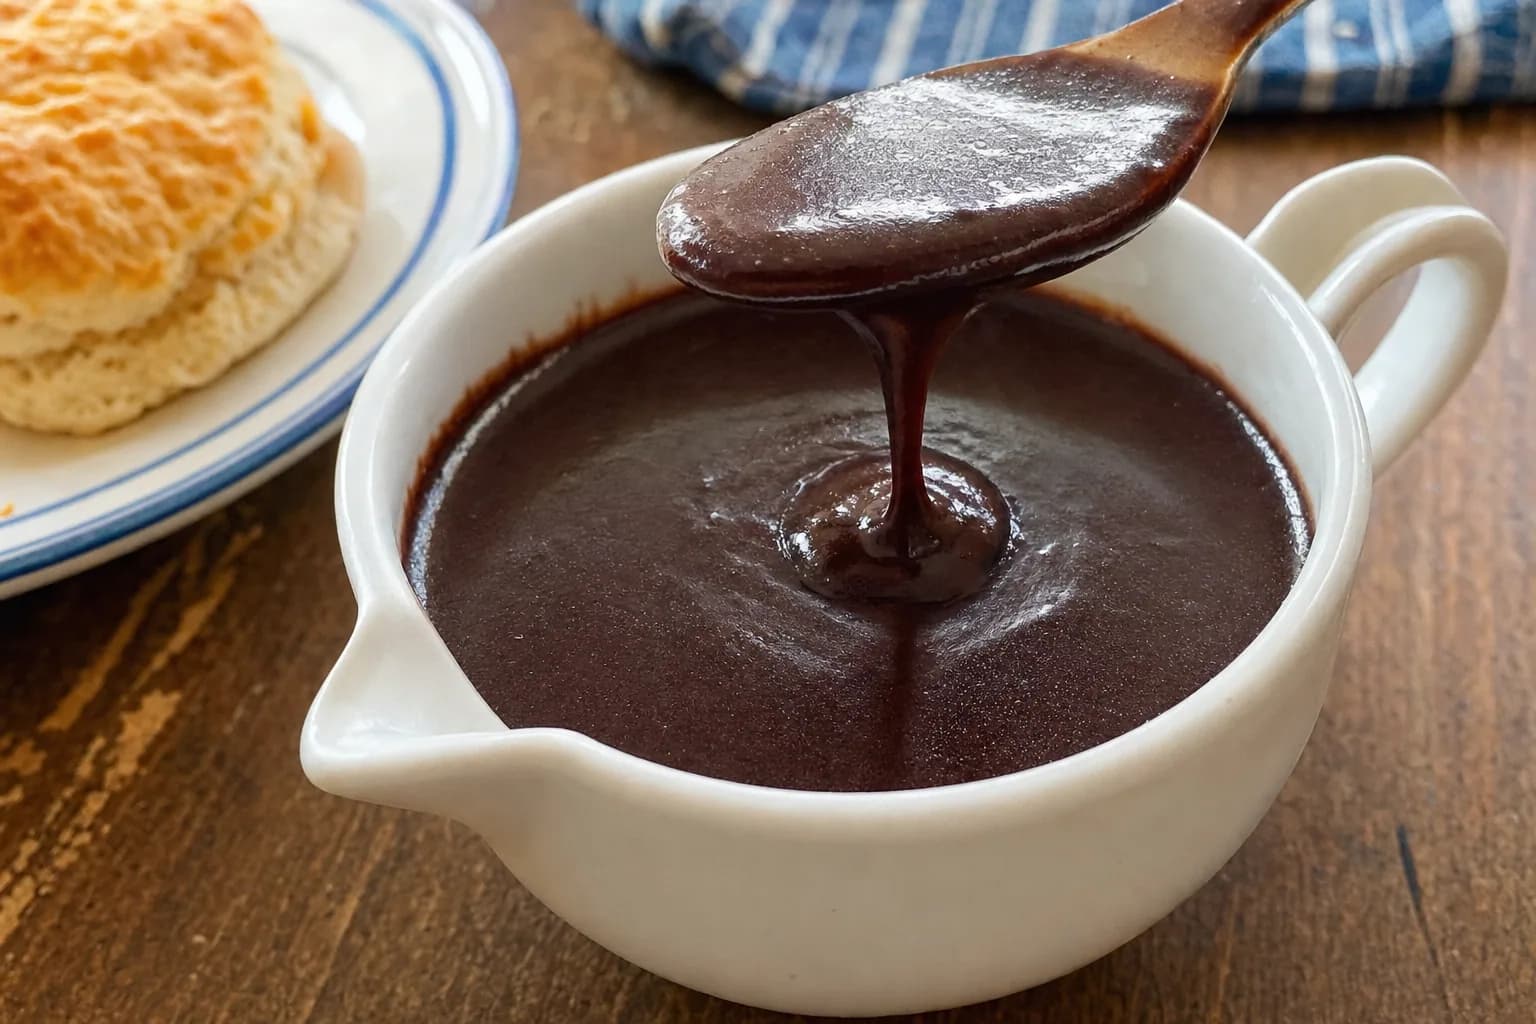
Chocolate Gravy
This old-fashioned Southern chocolate gravy is a warm cocoa sauce made for spooning over split biscuits. It comes together on the stovetop with pantry staples and tastes like a cozy cross between pudding and hot fudge.
 Chocolate
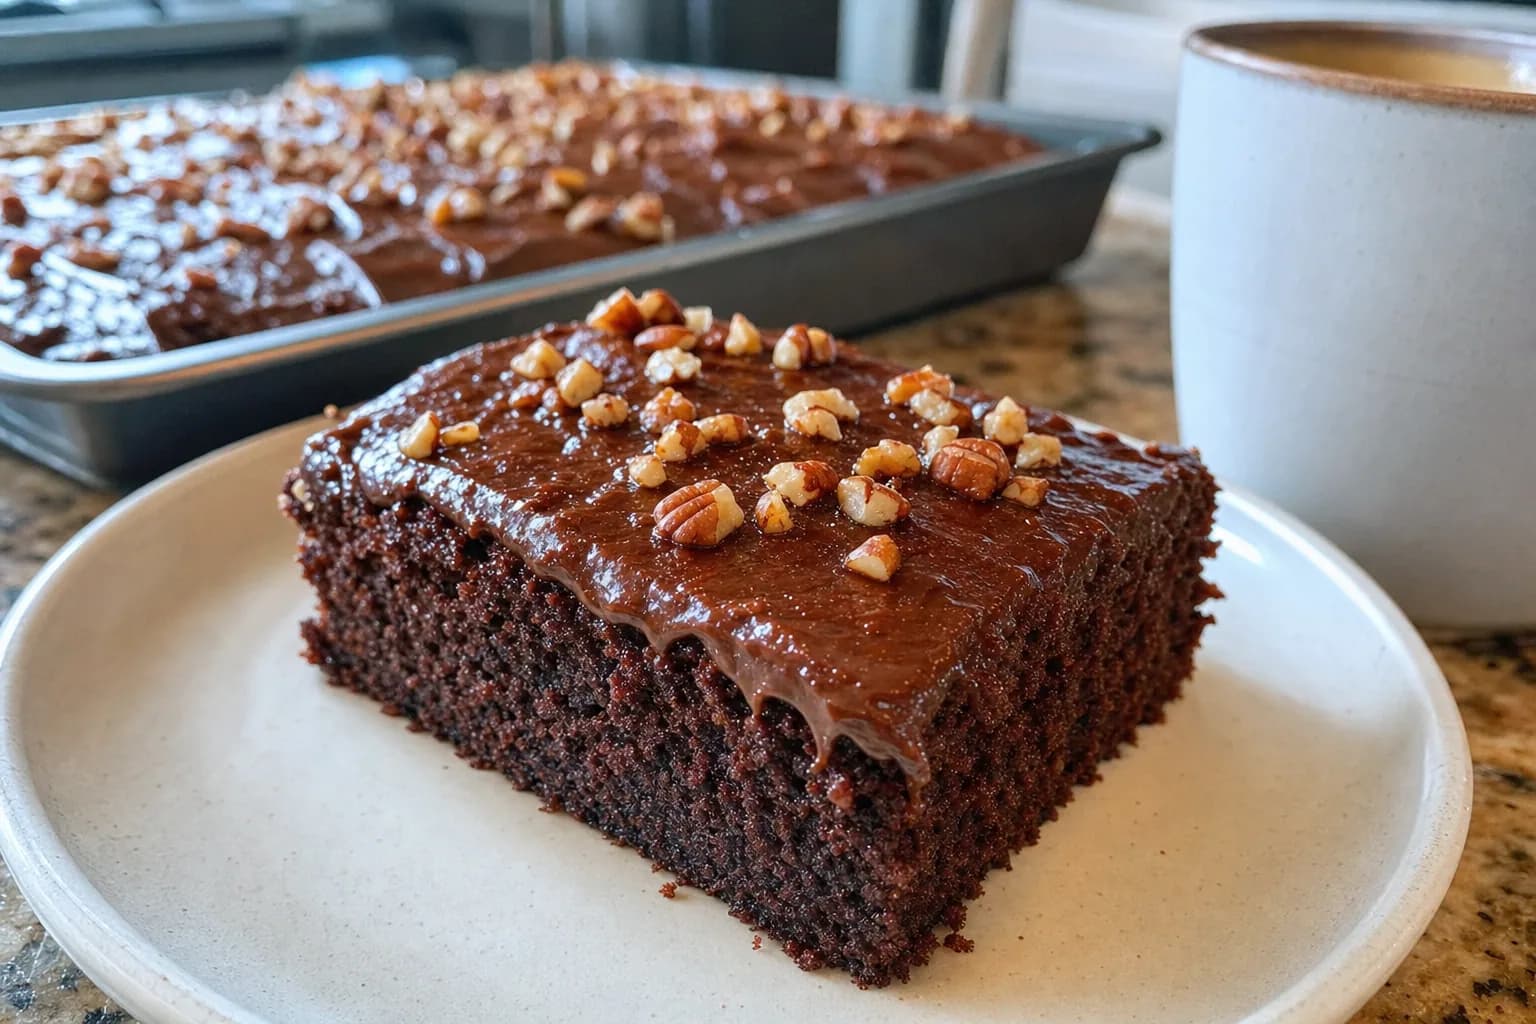
Texas Sheet Cake
This classic Texas sheet cake is thin, tender, and deeply chocolatey, with a warm cocoa frosting poured right over the hot cake. It feeds a crowd from one pan, which is why it has earned a place at potlucks, birthdays, r
 Chocolate
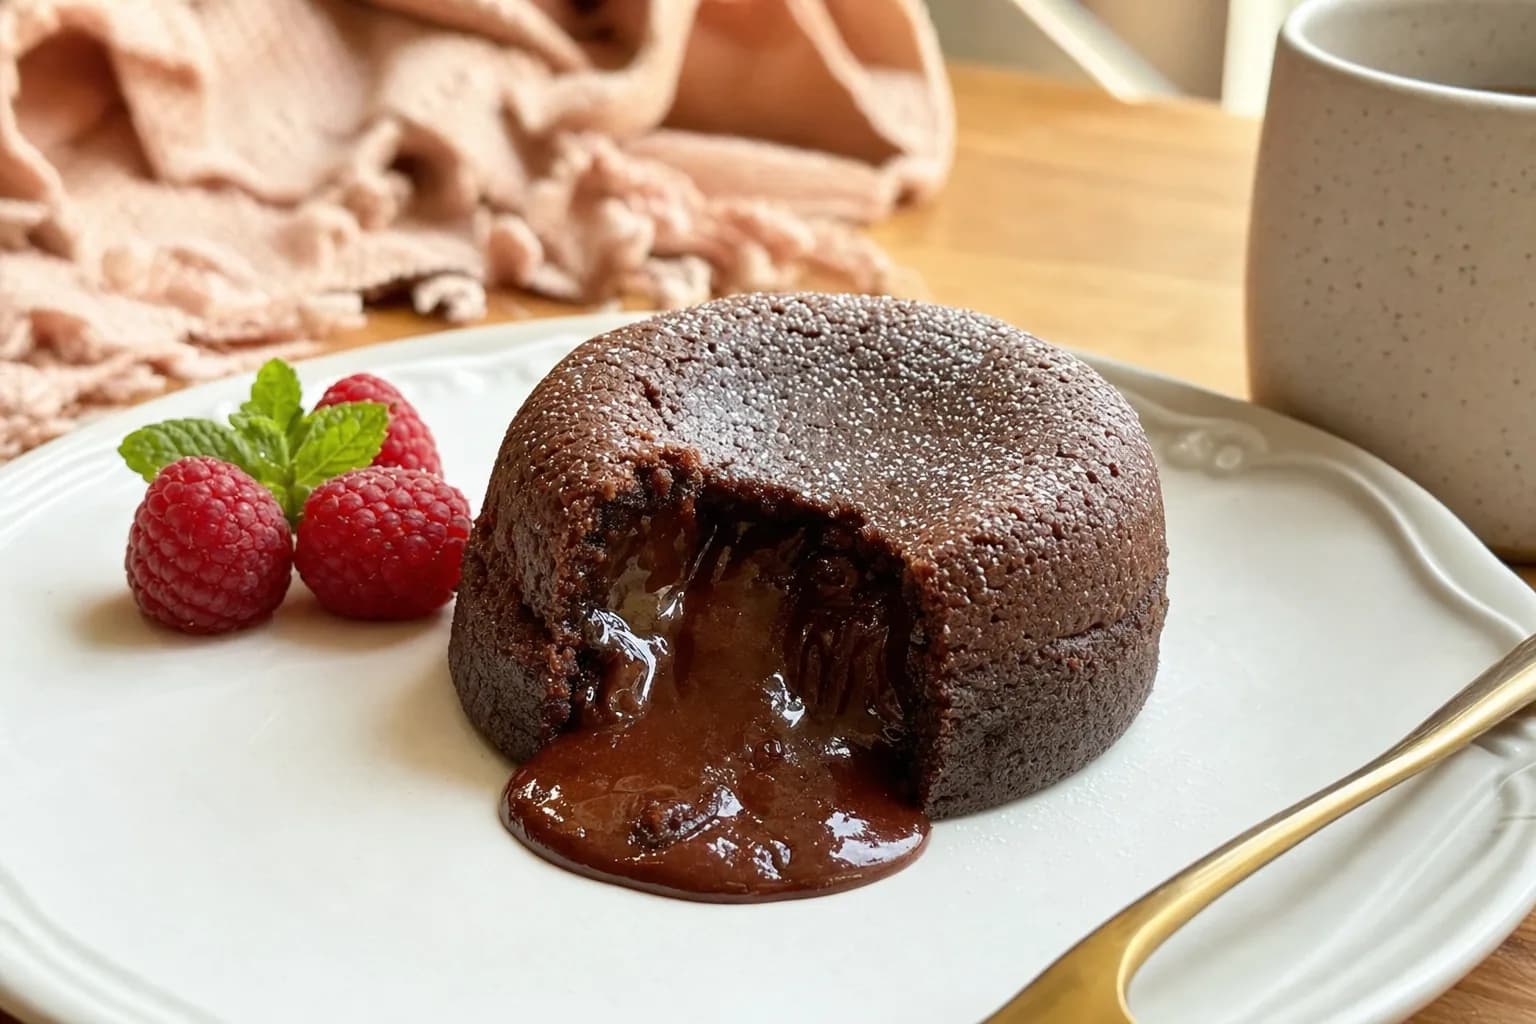
Chocolate Lava Cakes
These small chocolate cakes bake up with tender edges and a warm, flowing center. Serve them straight from the oven with berries, whipped cream, or a scoop of vanilla ice cream.